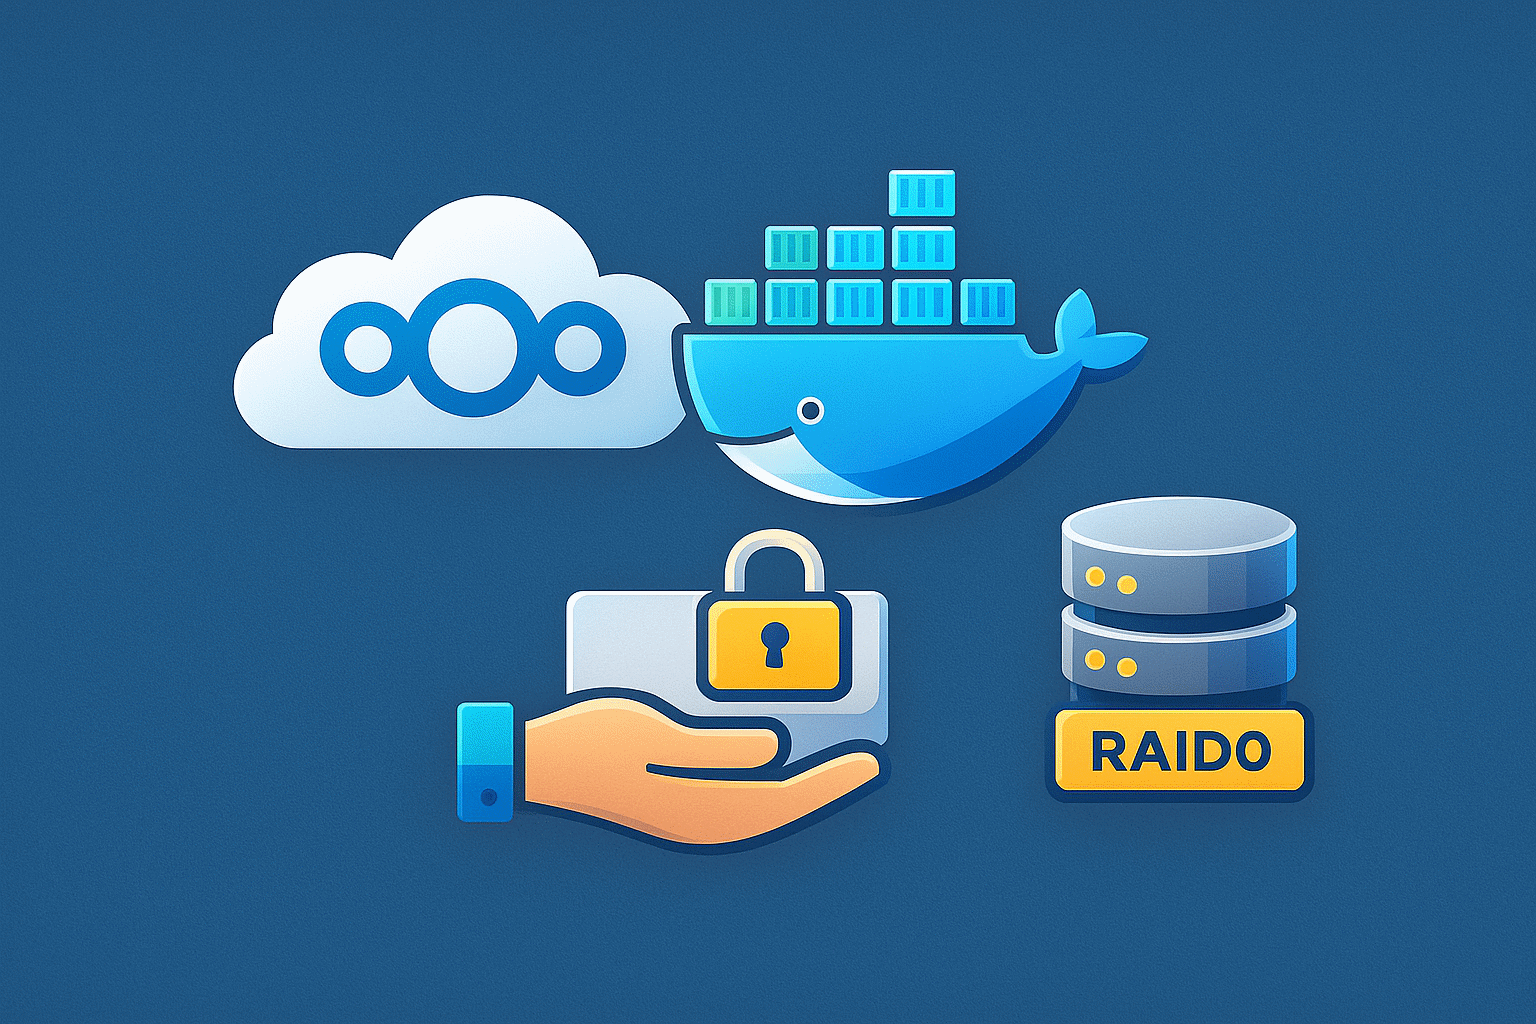
Self‑hosting Nextcloud on an OpenMediaVault (OMV) server is a great way to take control of your files, calendars, contacts, and photos. In this guide, we’ll go through a practical, production‑style setup:
- Docker containers and configuration live on the system disk (with your other stacks).
- User data (files uploaded to Nextcloud) is stored on a RAID array for better redundancy and capacity.
We’ll also quietly build in safeguards against common pitfalls: missing compose files, permission errors, and database connection issues.
1. Overview of the Architecture 🧩
Before touching the terminal, let’s define how everything is laid out.
- Host OS: OpenMediaVault (OMV) with Docker installed.
- System disk (e.g., NVMe or SSD):
/srv/docker/nextcloud– Docker stack for Nextcloudconfig/→ Nextcloud config & appsdb/→ MariaDB data & config
- RAID array (e.g., md0 built from multiple HDDs):
/srv/dev-disk-by-uuid-<RAID-UUID>/nextcloud-data→ all user files from Nextcloud (/datain the container)
We’ll use LinuxServer.io Docker images:
lscr.io/linuxserver/nextcloud– Nextcloudlscr.io/linuxserver/mariadb– MariaDB
This separation keeps your containers and configs fast and lightweight on the system disk while user files live on large redundant storage.
2. Prepare the RAID Array in OMV 💽
2.1. Confirm the RAID device
SSH into your OMV server and run:
lsblk -fYou should see something like:
sda          linux_raid_member 1.2   omv:0 ...
└─md0
sdb          linux_raid_member 1.2   omv:0 ...
└─md0
Here md0 is the RAID device. At this stage it might not have a filesystem yet.
2.2. Create a filesystem on /dev/md0 (via OMV UI)
⚠️ Warning: creating a filesystem will erase all existing data on this RAID device. Do this only if it’s new or you know it’s safe.
In the OMV web interface:
- Go to Storage → RAID Management and ensure the array is healthy (
clean). - Go to Storage → File Systems.
- Click Create.
- Select Device:
/dev/md0. - Select File system:
ext4. - Choose a Label (e.g.,
raid_data). - Confirm the warnings and wait for the filesystem creation to finish.
2.3. Mount the filesystem
Still in Storage → File Systems:
- Select the
/dev/md0entry. - Click Mount.
- Apply the pending changes (yellow banner → Apply → Yes).
OMV will mount the filesystem under a path like:
/srv/dev-disk-by-uuid-1b2e39ee-29ff-4c8e-1234-afc440cbb123You can confirm this via SSH:
df -h | grep md0You should see something like:
/dev/md0 3.6T ... /srv/dev-disk-by-uuid-1b2e39ee-29ff-4c8e-1234-afc440cbb123We’ll refer to this mount path as RAID_MOUNT.
3. Plan the Folder Layout 🗂️
We’ll use two main roots:
STACK_ROOT="/srv/docker/nextcloud"
RAID_MOUNT="/srv/dev-disk-by-uuid-1b2e39ee-29ff-4c8e-1234-afc440cbb123" # adjust to your UUID- All Docker‑related files live under
STACK_ROOT. - All Nextcloud user data lives under
RAID_MOUNT/nextcloud-data.
3.1. Create directories for the stack
sudo -i  # become root if not already

mkdir -p "$STACK_ROOT/config"
mkdir -p "$STACK_ROOT/db"
3.2. Create the data directory on RAID
mkdir -p "$RAID_MOUNT/nextcloud-data"At the end you should have:
/srv/docker/nextcloud
/srv/docker/nextcloud/config
/srv/docker/nextcloud/db
/srv/dev-disk-by-uuid-.../nextcloud-data
4. Set Permissions with PUID/PGID 🔐
LinuxServer images run the main process as a non‑root user defined by PUID and PGID. To avoid permission errors, these IDs must match a real user on the host.
Let’s assume you want your regular user pi to own the files.
4.1. Get the user’s IDs
id piTypical output:
uid=1000(pi) gid=100(users) groups=100(users), ...We’ll use:
PUID = 1000PGID = 100
4.2. Apply ownership to the relevant directories
chown -R 1000:100 "$STACK_ROOT"
chown -R 1000:100 "$RAID_MOUNT/nextcloud-data"
Verify:
ls -ld "$STACK_ROOT" "$STACK_ROOT/config" "$STACK_ROOT/db" "$RAID_MOUNT/nextcloud-data"You should see pi users (or the corresponding user and group) as owner.
4.3. Test write access on the RAID directory
This is a very useful sanity check before you start the container:
sudo -u pi touch "$RAID_MOUNT/nextcloud-data/_test_from_pi"
ls -l "$RAID_MOUNT/nextcloud-data/_test_from_pi"
rm "$RAID_MOUNT/nextcloud-data/_test_from_pi"
If this works, the container (running with PUID=1000, PGID=100) will also be able to write to /data.
5. Create the Docker Compose File 📄
Now create the Docker stack definition. We’ll keep the compose file alongside your other stacks.
From the OMV shell:
cd /srv/docker/nextcloud
nano docker-compose.yml
Paste the following content (adjust passwords and the RAID UUID as needed):
version: "3.8"

services:
  mariadb:
    image: lscr.io/linuxserver/mariadb:latest
    container_name: nextcloud_db
    environment:
      - PUID=1000             # host user id (id pi)
      - PGID=100              # host group id (id pi)
      - TZ=Europe/Kyiv
      - MYSQL_ROOT_PASSWORD='change_this_root_password'
      - MYSQL_DATABASE=nextcloud
      - MYSQL_USER=nextcloud
      - MYSQL_PASSWORD='change_this_db_password'
    volumes:
      # DB + config - on system disk with other containers
      - /srv/docker/nextcloud/db:/config
    restart: unless-stopped

  nextcloud:
    image: lscr.io/linuxserver/nextcloud:latest
    container_name: nextcloud
    depends_on:
      - mariadb
    environment:
      - PUID=1000             # same ids as above
      - PGID=100
      - TZ=Europe/Kyiv
    volumes:
      # Nextcloud config, apps, etc. - on system disk
      - /srv/docker/nextcloud/config:/config
      # User data - on RAID array
      - /srv/dev-disk-by-uuid-1b2e39ee-29ff-4c8e-1234-afc440cbb123/nextcloud-data:/data
    ports:
      - 8443:443              # HTTPS from container -> 8443 on host
    restart: unless-stopped
Tips:
- Keep the indentation: 2 spaces for each level.
- Wrap the passwords in single quotes
'...'to avoid YAML parsing issues with special characters (like:or@).
Save and exit (Ctrl+O, Enter, then Ctrl+X).
5.1. Verify the compose file
Before starting anything, let Docker validate the config:
cd /srv/docker/nextcloud
ls

# should show: config  db  docker-compose.yml

docker compose config
If the YAML is valid, docker compose config will print the merged configuration. If you see errors, fix them before starting the stack.
6. Start the Nextcloud Stack ▶️
With everything in place, pull the images and start the containers:
cd /srv/docker/nextcloud

docker compose pull
docker compose up -d
Check the running containers:
docker psYou should see something like:
CONTAINER ID   IMAGE                                  NAMES
...            lscr.io/linuxserver/nextcloud:latest   nextcloud
...            lscr.io/linuxserver/mariadb:latest     nextcloud_db
If any container exits immediately, inspect the logs:
docker logs nextcloud_db
docker logs nextcloud
This will help catch configuration or permission issues early.
7. Complete the Web-Based Installation 🖥️
Now it’s time to finish the installation via the browser.
- Open your browser and navigate to:
https://<OMV_IP_ADDRESS>:8443 - Your browser will warn about a self‑signed certificate. Add a security exception to continue.
- On the initial Nextcloud setup screen, choose:
- Admin account: pick a username (e.g.,
admin) and a strong password.
- Admin account: pick a username (e.g.,
- Expand Storage & database.
- Data folder: keep it as
/data→ this is the internal path inside the container, already mapped to your RAID at/srv/dev-disk-by-uuid-.../nextcloud-data.
- Data folder: keep it as
7.1. Database settings
In the same setup page, under Database:
- Choose MySQL/MariaDB.
- Fill in the database fields:
- Database user:
nextcloud - Database password: the same one you set in
MYSQL_PASSWORDin your compose file. - Database name:
nextcloud - Database host:
nextcloud_db:3306
- Database user:
- Click Install.
Nextcloud will create the database schema and finish the installation. This may take a few minutes on slower hardware.
If everything is correct, you’ll land in the Nextcloud web interface.
8. Expose Nextcloud Data via Samba (Optional) 📁
One big advantage of storing data on the RAID is that you can also expose it via SMB/CIFS for backup or read‑only access.
Important: Directly editing or deleting files inside the data directory outside of Nextcloud is not recommended. For most use cases, treat this SMB share as read‑only, especially for non‑admin users.
8.1. Create a shared folder in OMV
In the OMV web UI:
- Go to Storage → Shared Folders.
- Click Add.
- Name:
nextcloud_data. - File system: select your RAID filesystem (the one with
/srv/dev-disk-by-uuid-1b2e39ee-...). - Path: choose the existing
nextcloud-datadirectory. - Set appropriate permissions (e.g., owner/group read‑write, others none).
- Save.
8.2. Export via SMB/CIFS
- Go to Services → SMB/CIFS → Shares.
- Click Add.
- Select the shared folder:
nextcloud_data. - Choose a Name for the share (e.g.,
nextcloud_data). - Set Public according to your needs (often “Guests not allowed”).
- Configure Access Rights to control which users can connect.
- Save and apply config.
From a Windows or Linux client, you can now connect to this share and see the Nextcloud data structure (e.g., data/<user>/files/...).
9. Notes on Encryption and Backups 🔒
You might be tempted to enable Nextcloud’s server‑side encryption module. It’s important to understand what it does and what trade‑offs it brings.
9.1. Nextcloud server-side encryption
- Encrypts files at the application layer using per‑user keys.
- Primarily useful for encrypting external storage (like S3 or remote mounts).
- If enabled for your main data directory, files on the RAID become encrypted blobs.
- Copying them directly via Samba will not give you readable files — you’d need Nextcloud (and the keys) to decrypt them.
For many home/SMB setups, this is not what you want if your goal is:
- Easy file copies via SMB/rsync.
- Simple access to backups outside of Nextcloud.
9.2. Recommended approach
Instead of app‑level encryption for the primary storage, consider:
- Disk‑level encryption (LUKS) for the RAID array: protects data at rest if the disks are removed.
- Encrypted backups using tools like Borg, Restic, or similar:
- Backups are encrypted when stored offsite or on another server.
This approach lets Nextcloud operate on a normal filesystem while still protecting your data in transit and at rest in backups.
10. Troubleshooting Common Issues 🛠️
Here are a few issues that often show up and how to prevent or fix them.
10.1. no configuration file provided: not found
If you see this when running docker compose pull or docker compose up -d:
- Make sure you are inside the directory containing
docker-compose.yml:cd /srv/docker/nextcloud ls - Confirm that
docker-compose.ymlexists and is correctly named. - Run
docker compose configto validate the file.
10.2. Cannot create or write into the data directory
This typically means a permissions issue on the data directory.
Checklist:
- Confirm
PUIDandPGIDmatch your host user:id pi - Ensure ownership is set correctly:
chown -R 1000:100 /srv/docker/nextcloud chown -R 1000:100 /srv/dev-disk-by-uuid-1b2e39ee-29ff-4c8e-1234-afc440cbb123/nextcloud-data - Test write access as that user:
sudo -u pi touch /srv/dev-disk-by-uuid-1b2e39ee-29ff-4c8e-1234-afc440cbb123/nextcloud-data/_test - Make sure the data directory was empty before the first Nextcloud install.
10.3. SQLSTATE[HY000] [1130] Host 'nextcloud.nextcloud_default' is not allowed to connect
This indicates MariaDB is rejecting connections from the Nextcloud container host because the database user is not allowed to connect from that host.
To fix this:
- Enter the MariaDB container:
docker exec -it nextcloud_db bash - Log into MariaDB:
mariadb -u root -pEnter the root password you set inMYSQL_ROOT_PASSWORD. - Create (or adjust) the Nextcloud database user:
CREATE DATABASE IF NOT EXISTS nextcloud CHARACTER SET utf8mb4 COLLATE utf8mb4_general_ci; CREATE USER IF NOT EXISTS 'nextcloud'@'%' IDENTIFIED BY 'change_this_db_password'; GRANT ALL PRIVILEGES ON nextcloud.* TO 'nextcloud'@'%'; FLUSH PRIVILEGES; - Exit MariaDB and the container:
EXIT;exit - Restart the containers:
cd /srv/docker/nextcloud docker compose restart
Now the Nextcloud setup wizard should be able to connect using nextcloud_db:3306.
11. Next Steps ✨
Once your Nextcloud instance is up and running with data safely stored on the RAID array, you can:
- Configure a reverse proxy (e.g., Nginx Proxy Manager) to serve Nextcloud under a friendly domain and proper HTTPS.
- Set up regular, encrypted backups of the Nextcloud data and database.
- Add apps for calendars, contacts, tasks, password management, and more.
With this layout—containers and configs on the system disk, user data on RAID—you get a clean separation of concerns, better performance, and a solid foundation for a reliable self‑hosted cloud. 🚀
Leave a Reply