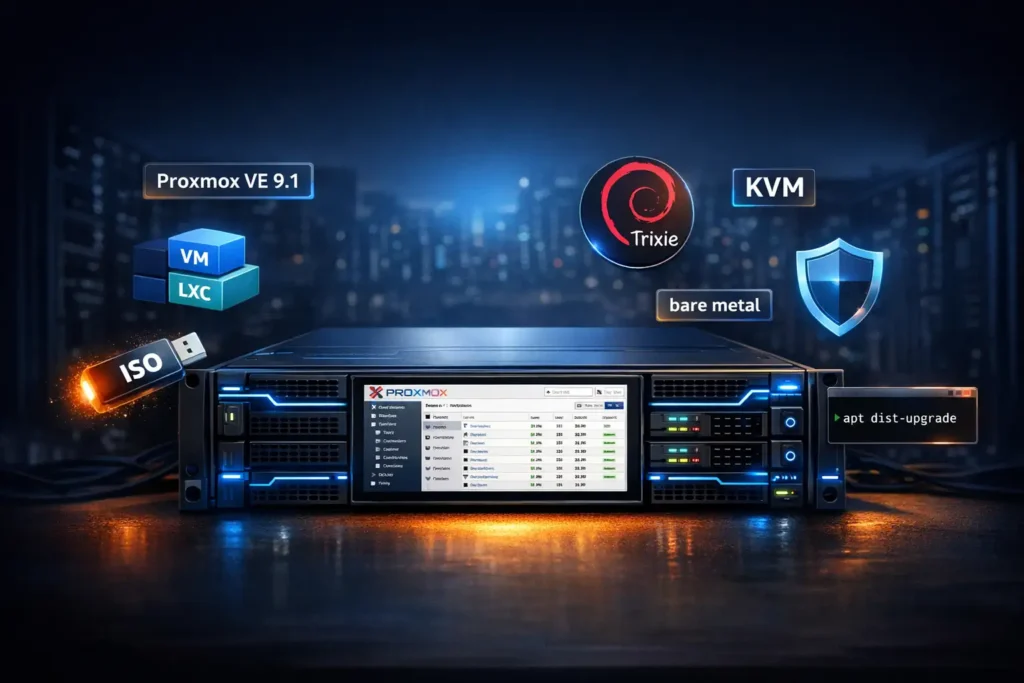
If you’ve been thinking about building a home lab or a production-grade hypervisor, now is a great time to install Proxmox VE 9.1 on bare metal. This guide walks you through every step — from downloading the ISO to a fully updated, subscription-free node ready for your first workloads.
🤔 What Is Proxmox VE — and Why Should You Care?
Proxmox Virtual Environment (Proxmox VE) is a free, open-source server virtualization platform developed by Proxmox Server Solutions GmbH based in Vienna, Austria. At its core, it’s a Type 1 hypervisor — meaning it runs directly on bare metal hardware, not on top of another operating system. This gives it a significant performance advantage over desktop virtualization tools like VirtualBox or VMware Workstation.
Under the hood, Proxmox VE combines two mature technologies:
- 🖥️ KVM (Kernel-based Virtual Machine) — for full virtual machines. Each VM gets its own isolated kernel, CPU, RAM, and disk. You can run Windows, Linux, BSD, or any other OS as a guest.
- 📦 LXC (Linux Containers) — for lightweight containers that share the host kernel. They start in milliseconds and use a fraction of the RAM a full VM would need.
Both are managed through a single, unified web interface — no need to SSH into the host for everyday tasks.
Who is Proxmox VE for?
Proxmox VE is used across a surprisingly wide range of environments:
- 🏠 Home lab enthusiasts — run multiple OSes on a single machine, experiment with networking, self-host services like Nextcloud, Jellyfin, or Home Assistant
- 💼 Small and medium businesses — replace expensive VMware vSphere or Hyper-V licenses with a production-ready open-source alternative
- 🏢 Enterprises — build full software-defined data centers with clustering, shared storage, high availability, and SDN — all without vendor lock-in
- 👩💻 Developers and DevOps teams — spin up isolated test environments, CI/CD runners, or staging servers in seconds
Why Proxmox VE instead of alternatives?
| Proxmox VE | VMware vSphere | Microsoft Hyper-V | Proxmox VE wins because… | |
|---|---|---|---|---|
| License | Free (AGPL) | Paid | Paid / bundled | No license cost |
| VMs + Containers | ✅ both | VMs only | VMs only | One tool for everything |
| Web UI | ✅ built-in | ✅ vCenter (paid) | ✅ limited | Fully featured, free |
| Clustering | ✅ built-in | ✅ paid | ✅ paid add-on | Included out of the box |
| Backup solution | ✅ PBS (free) | Paid add-on | Limited | Proxmox Backup Server is free |
| Community | 225k+ forum members | Large, paid-heavy | Microsoft ecosystem | Active open-source community |
The biggest advantage? Proxmox VE gives you enterprise-grade virtualization features — live migration, snapshots, high availability, software-defined networking — completely free of charge. You only pay if you want commercial support and access to the tested enterprise repository.
💬 As of 2025, Proxmox VE has over 1.6 million active hosts worldwide. It’s not a niche tool — it’s a legitimate production platform trusted by tens of thousands of businesses.
How does Proxmox VE fit into your infrastructure?
Think of it as the operating system for your server’s virtualization layer. You install Proxmox VE on bare metal once, and from that point forward everything else — your services, databases, dev environments, test machines — runs as VMs or containers inside it. Need a new Ubuntu server? Create a VM in 30 seconds. Need a lightweight DNS resolver? Spin up an LXC container that uses 64 MB of RAM. Not familiar with containers yet? Check out Docker for Beginners — the concepts of images and volumes apply equally well inside Proxmox VE. Need to move a running VM to another physical host with zero downtime? Live migration has you covered.
In short: Proxmox VE turns a single physical server into a flexible, efficient platform you can carve up however your workloads demand.
⚙️ Minimum System Requirements
Before you install Proxmox VE 9.1 on your bare metal server, verify your hardware meets these requirements:
| Component | Minimum | Recommended |
|---|---|---|
| CPU | 64-bit, Intel VT-x or AMD-V | 4+ cores |
| RAM | 2 GB | 8+ GB |
| Disk | 32 GB | 120+ GB SSD |
| Network | 1 NIC | 2+ NICs |
⚠️ Make sure VT-x / AMD-V is enabled in BIOS before you begin. Without it, KVM hardware virtualization won’t work and your VMs will crawl.
📥 Step 1 — Download the ISO
Head to the official download page: 👉 proxmox.com/en/downloads
The first thing you need to install Proxmox VE 9.1 is the official ISO. Always verify its integrity before writing to USB — the official SHA256 checksum:
6d8f5afc78c0c66812d7272cde7c8b98be7eb54401ceb045400db05eb5ae6d22
Verify on Linux/macOS:
# Verify the downloaded ISO matches the official checksum
sha256sum proxmox-ve_9.1-1.iso
💾 Step 2 — Write ISO to USB
On Windows, use Rufus:
- Partition scheme:
GPT - Target system:
UEFI (non CSM) - File system:
FAT32
On Linux / macOS:
# Find your USB device first — do NOT skip this step
lsblk

# Write to USB (replace /dev/sdX with your actual device)
sudo dd if=proxmox-ve_9.1-1.iso of=/dev/sdX bs=1M status=progress conv=fsync
⚠️ Warning:
ddwill permanently wipe all data on the target device with no confirmation prompt. Double-checkof=/dev/sdXbefore hitting Enter. This is the only USB you’ll ever need to install Proxmox VE 9.1 — keep it around for future nodes.
🔧 Step 3 — Configure BIOS/UEFI
Boot into BIOS (usually Del, F2, or F11) and set the following:
| Setting | Value |
|---|---|
| Intel VT-x / AMD-V | Enabled |
| VT-d / AMD IOMMU | Enabled (for PCIe passthrough) |
| Secure Boot | Disabled |
| Boot Mode | UEFI (recommended) |
| Boot Order | USB first |
Save and reboot with the USB plugged in.
🖥️ Step 4 — Run the Proxmox VE 9.1 Installer
To install Proxmox VE 9.1, boot from the USB and at the menu select:
Install Proxmox VE (Graphical)
Work through the wizard:
Disk & Filesystem
Click Options next to your target disk to pick a filesystem:
| Filesystem | When to use |
|---|---|
ext4 | Best for beginners — simple and proven ✅ |
xfs | Good for large file workloads |
zfs (RAID-1) | 2 disks, need redundancy + snapshots |
zfs (RAID-Z) | 3+ disks, maximum reliability |
For a first bare metal Proxmox VE 9.1 setup, ext4 is the safest choice.
Locale
- Country:
Ukraine(or your own) - Timezone:
Europe/Kyiv - Keyboard:
en-us
Network — the most important step ⚠️
| Field | Example |
|---|---|
| Hostname (FQDN) | pve.home.local |
| IP Address (CIDR) | 192.168.1.10/24 |
| Gateway | 192.168.1.1 |
| DNS | 1.1.1.1 |
Always set a static IP. If you rely on DHCP, the address may change after a router reboot and you’ll lose access to the web UI.
Click Install and wait ~10 minutes. When finished, remove the USB — the server will reboot automatically.
🌐 Step 5 — First Login to the Web UI
Open your browser and navigate to:
https://192.168.1.10:8006
💡 Your browser will warn about a self-signed SSL certificate — this is expected. Click Advanced → Proceed anyway.
- Login:
root - Realm:
Linux PAM standard authentication - Password: the one you set during install
You’re now inside the Proxmox VE 9.1 management interface — the hard part is done. Every time you install Proxmox VE 9.1 from scratch this is the screen that confirms everything went right. 🎉
🔄 Step 6 — Post-Install Configuration
Once you install Proxmox VE 9.1 and log into the web UI, there are a few critical post-install steps before the node is truly production-ready. Connect via SSH or use the Shell in the web UI (node → Shell):
ssh [email protected]
6.1 — Disable enterprise repositories
Proxmox VE 9.1 ships with enterprise repos enabled by default. Without a paid subscription they return 401 Unauthorized on every apt update.
The new format in PVE 9.x uses DEB822 .sources files — check what you have first:
# Inspect all apt source files
for f in /etc/apt/sources.list.d/*.sources; do
    echo "=== $f ==="; cat "$f"; echo
done
Disable both enterprise sources:
# Disable enterprise Proxmox VE repo
sed -i '/URIs: https:\/\/enterprise.proxmox.com\/debian\/pve/i Enabled: no' \
  /etc/apt/sources.list.d/pve-enterprise.sources

# Disable enterprise Ceph repo
sed -i '/URIs: https:\/\/enterprise.proxmox.com\/debian\/ceph-squid/i Enabled: no' \
  /etc/apt/sources.list.d/ceph.sources
6.2 — Add the free no-subscription repository
# Add community no-subscription repo (Trixie codename for PVE 9.x)
echo "deb http://download.proxmox.com/debian/pve trixie pve-no-subscription" \
  > /etc/apt/sources.list.d/pve-no-subscription.list
📖 Repo documentation: pve.proxmox.com/wiki/Package_Repositories
6.3 — Update the system
apt update && apt dist-upgrade -y
⚠️
dist-upgrademay update the kernel or critical packages. Reboot after it completes:
reboot
6.4 — Remove the subscription nag (optional)
# Cosmetic patch — removes the "No valid subscription" popup in the web UI
sed -i "s/data.status !== 'Active'/false/g" \
  /usr/share/javascript/proxmox-widget-toolkit/proxmoxlib.js

systemctl restart pveproxy
⚠️ This is a cosmetic UI change only. It grants no additional features and may reset after a
proxmox-widget-toolkitpackage update.
✅ What’s Next?
You’ve managed to install Proxmox VE 9.1 successfully — your bare metal node is now fully updated and repository-clean. The next steps are:
- 🖥️ Create your first VM — upload an ISO and spin up a virtual machine with VirtIO drivers and QEMU Guest Agent. A great first workload: run OpenClaw or any Docker-based service inside a dedicated VM
- 📦 Create your first LXC container — download a template or use an OCI image (new in 9.1!). If you’re new to containers, start with Docker for Beginners
- 🎛️ Manage containers visually — spin up a VM and install Portainer for a friendly GUI on top of your Docker workloads
- 💾 Configure storage — add NFS, NVMe, or a ZFS pool
- 🔁 Set up backups — integrate with Proxmox Backup Server
🔗 Useful Links
| Resource | URL |
|---|---|
| Official documentation | pve.proxmox.com/pve-docs |
| Package repositories | pve.proxmox.com/wiki/Package_Repositories |
| Release notes / Roadmap | pve.proxmox.com/wiki/Roadmap |
| Community forum | forum.proxmox.com |
| ISO download | proxmox.com/en/downloads |
| Upgrade from PVE 8 | pve.proxmox.com/wiki/Upgrade_from_8_to_9 |
Leave a Reply