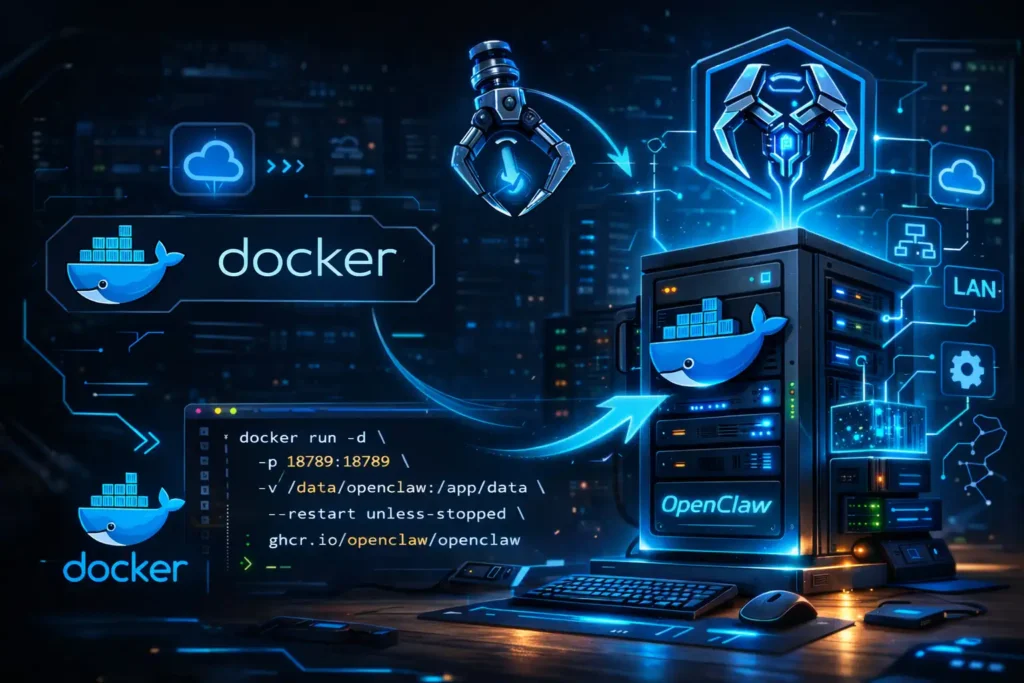
If you want a private, self-hosted assistant you can reach from anywhere, OpenClaw Docker on Home Server is a solid setup: the Gateway runs in Docker, your data stays on your own box, and you can expose the Control UI through a reverse proxy with strict access controls. ✅
This guide is based on a real “home lab” style deployment:
- OMV (OpenMediaVault) host runs the OpenClaw Docker containers.
- Home Assistant host runs Nginx Proxy Manager (NPM) as the reverse proxy.
- Optional Cloudflare in front of the domain.
You’ll end with:
- OpenClaw running in Docker on your home server 🦞
- A working Control UI via
https://ai.yourdomain.com🔐 - Telegram bot + pairing + allowlist 🧩
- No “bypass” via direct IP/ports 🚫
Why this approach
OpenClaw Docker on Home Server is great when you want:
- Isolation (Docker) 🧱
- Persistent config + workspace on your NAS storage 📦
- A clean reverse proxy story (TLS + WebSockets) 🌐
- Tight access control (LAN/VPN only, Cloudflare allowlist, etc.) 🔒
Prerequisites
On the OMV box:
- Docker Engine + Docker Compose v2
git- Enough disk space in Docker root (
/var/lib/docker) for images + cache
On the reverse proxy (Home Assistant + NPM):
- A Proxy Host for
ai.yourdomain.com - WebSockets enabled
Docs (official):
- Docker install guide: https://docs.openclaw.ai/install/docker
- Control UI + allowedOrigins: https://docs.openclaw.ai/web/control-ui
- Gateway security notes: https://docs.openclaw.ai/gateway/security
- Telegram channel: https://docs.openclaw.ai/channels/telegram
- Pairing CLI: https://docs.openclaw.ai/cli/pairing
Step 1 — Choose persistent folders (OMV-friendly)
For OpenClaw Docker on Home Server, keep data outside containers:
- Source repo:
/srv/docker/openclaw/src - Config (tokens, settings):
/srv/docker/openclaw/config - Workspace (tools, files):
/srv/docker/openclaw/workspace
Create them:
sudo mkdir -p /srv/docker/openclaw/{src,config,workspace}Permissions (important)
Many OpenClaw Docker flows write config as user node (often UID 1000). If permissions are wrong, you’ll get EACCES.
sudo chown -R 1000:1000 /srv/docker/openclaw/config /srv/docker/openclaw/workspace
sudo chmod -R u+rwX,go+rX /srv/docker/openclaw/config /srv/docker/openclaw/workspace
Step 2 — Install git and clone OpenClaw
sudo apt update
sudo apt install -y git

cd /srv/docker/openclaw/src
git clone https://github.com/openclaw/openclaw.git .
Step 3 — Point OpenClaw to your config/workspace (avoid $HOME issues)
In Docker mode, the repo uses .env variables like OPENCLAW_CONFIG_DIR and OPENCLAW_WORKSPACE_DIR. This is critical on servers where $HOME may be weird.
Edit .env:
cd /srv/docker/openclaw/src
nano .env
Ensure these lines exist:
OPENCLAW_CONFIG_DIR=/srv/docker/openclaw/config
OPENCLAW_WORKSPACE_DIR=/srv/docker/openclaw/workspace
Also make sure .env is readable by the user running docker compose:
sudo chown $USER:$USER .env
sudo chmod 644 .env
Step 4 — Run the official Docker setup
cd /srv/docker/openclaw/src
chmod +x docker-setup.sh
./docker-setup.sh
This will build the image and run onboarding (Wizard). For OpenClaw Docker on Home Server, onboarding should end with “Onboarding complete”. 🎉
Useful checks:
docker compose ps
docker compose logs -f openclaw-gateway
Step 5 — Reverse proxy with Nginx Proxy Manager (Home Assistant)
NPM Proxy Host basics
In NPM:
- Domain:
ai.yourdomain.com - Forward Hostname/IP: OMV IP (example:
192.168.1.202) - Forward Port:
18789 - ✅ Enable WebSockets
- ✅ Add SSL certificate (Let’s Encrypt) if public HTTPS is required
allowedOrigins (required)
If your gateway is reachable in a non-loopback way, OpenClaw requires explicit allowedOrigins.
On OMV:
docker compose run --rm openclaw-cli config set gateway.controlUi.allowedOrigins \
  '["https://ai.yourdomain.com"]' --strict-json

docker compose restart openclaw-gateway
This avoids the “non-loopback Control UI requires allowedOrigins” crash.
Step 6 — Control UI auth: token and pairing
For OpenClaw Docker on Home Server, the Control UI typically needs:
- Gateway URL:
https://ai.yourdomain.com - Gateway token (from
.envor config) - Device pairing approval (first time)
Get the token
grep -E '^OPENCLAW_GATEWAY_TOKEN=' /srv/docker/openclaw/src/.envPaste that token into Control UI settings.
If you see “too many failed authentication attempts”
That means the UI repeatedly tried a wrong token. Fix by:
- correcting the token in Control UI settings
- restarting the gateway
docker compose restart openclaw-gatewayStep 7 — Telegram: channel + pairing + allowlist
Add Telegram channel
Create a bot with @BotFather, then add channel config:
docker compose run --rm openclaw-cli channels add --channel telegram --token "<TELEGRAM_BOT_TOKEN>"Pair from Telegram
When Telegram shows a pairing code like SLКH1FDК, approve it on OMV:
docker compose run --rm openclaw-cli pairing approve telegram SLКH1FDКFix the “silently dropped” warning (allowlist)
If your Telegram user id is 471893461, allow it:
docker compose run --rm openclaw-cli config set channels.telegram.allowFrom '[471893461]' --strict-json
docker compose run --rm openclaw-cli config set channels.telegram.groupAllowFrom '[471893461]' --strict-json

docker compose restart openclaw-gateway
This removes the “groupPolicy allowlist but allowFrom is empty” issue.
Step 8 — Stop bypass: prevent direct access to OMV ports
This is the big one for OpenClaw Docker on Home Server security.
If http://192.168.1.202:18789 works from LAN, anyone on your network can bypass ai.yourdomain.com.
Option A (recommended): firewall OMV so only NPM can reach OpenClaw
If NPM is on 192.168.1.50, allow only that host to reach ports 18789/18790.
Install UFW on OMV:
sudo apt update
sudo apt install -y ufw
Allow SSH first (adjust if your SSH port isn’t 22):
sudo ufw allow 22/tcpThen allow OpenClaw only from NPM, deny everyone else:
sudo ufw allow from 192.168.1.50 to any port 18789 proto tcp
sudo ufw allow from 192.168.1.50 to any port 18790 proto tcp

sudo ufw deny 18789/tcp
sudo ufw deny 18790/tcp

sudo ufw enable
sudo ufw status numbered
Option B: bind OpenClaw ports to localhost (strongest)
If your reverse proxy is on a different machine, you’d need an SSH tunnel. But if everything is on the same host, binding to 127.0.0.1 is excellent:
ports:
  - "127.0.0.1:18789:18789"
  - "127.0.0.1:18790:18790"
Step 9 — If you use Cloudflare: make NPM allowlist work
If your _whoami shows Cloudflare IPs as remote_addr, then NPM is not seeing real client IP.
In NPM → Proxy Host → Advanced, add:
real_ip_header CF-Connecting-IP;set_real_ip_fromCloudflare ranges- then your
allow/denyrules
After that, allow 193.93.217.181; deny all; will work reliably behind Cloudflare. ☁️
Maintenance tips
For OpenClaw Docker on Home Server long-term stability:
- Back up
/srv/docker/openclaw/configand/srv/docker/openclaw/workspace✅ - Rotate tokens occasionally 🔄
- Run
openclaw doctor --deepwhen something feels off 🩺
docker compose run --rm openclaw-cli doctor --deepQuick troubleshooting cheatsheet
- EACCES writing openclaw.json → fix ownership/permissions on
config/and ensure.envpoints to your folders. - Control UI origin not allowed → set
gateway.controlUi.allowedOriginsto the exacthttps://ai.yourdomain.comorigin. - Device identity requires HTTPS → access UI via HTTPS or localhost secure context.
- Token mismatch → rotate and sync token in config +
.env, restart gateway. - Bypass via 192.168.1.202:18789 → firewall OMV or bind ports to localhost.
Wrap-up
With OpenClaw Docker on Home Server, you get a clean separation:
- OMV runs the Gateway
- HA + NPM provides secure HTTPS access
- Firewall closes bypass paths
Once this is stable, the next upgrade is adding identity-aware proxy auth (trusted-proxy mode) if you want “login-based” access instead of token-based access.
Leave a Reply